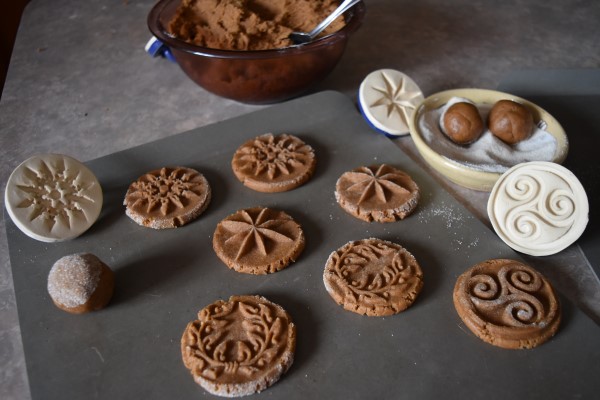
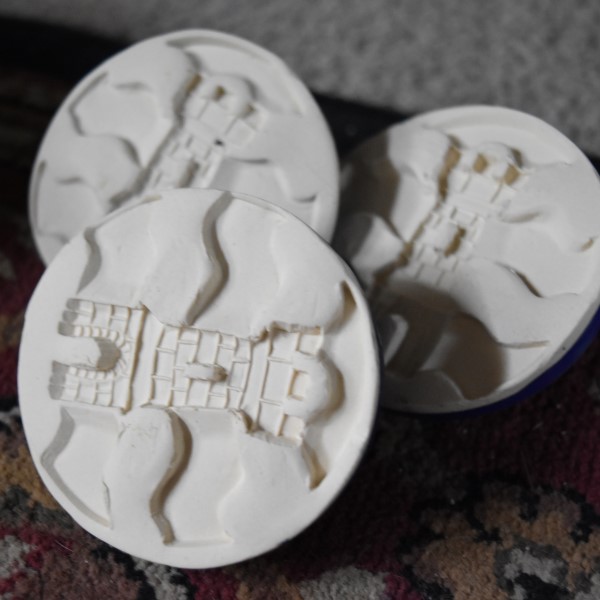
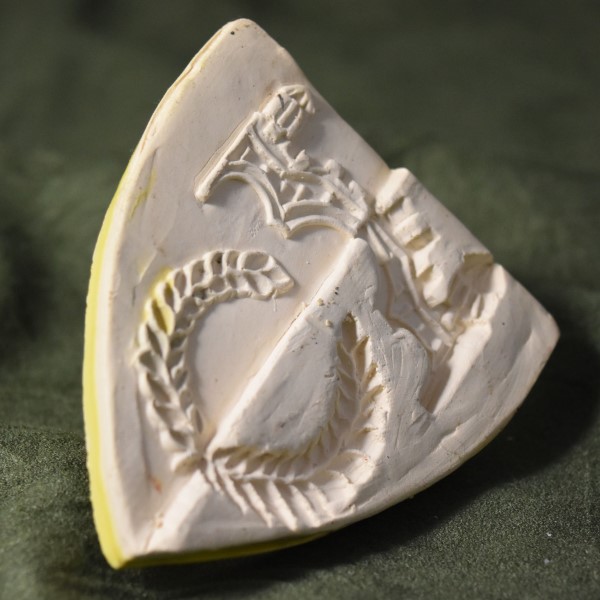
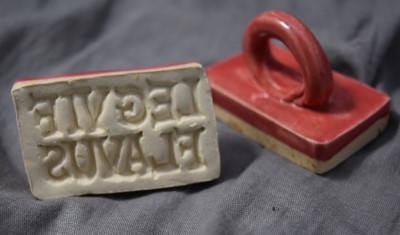
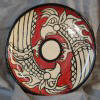
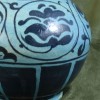
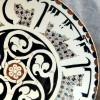
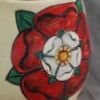
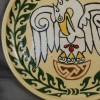
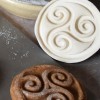
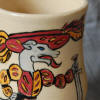
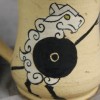
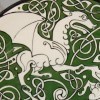
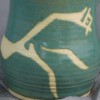
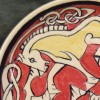
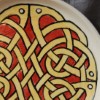
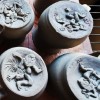
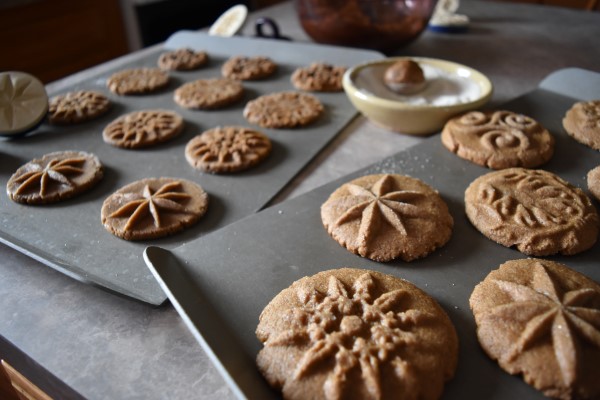
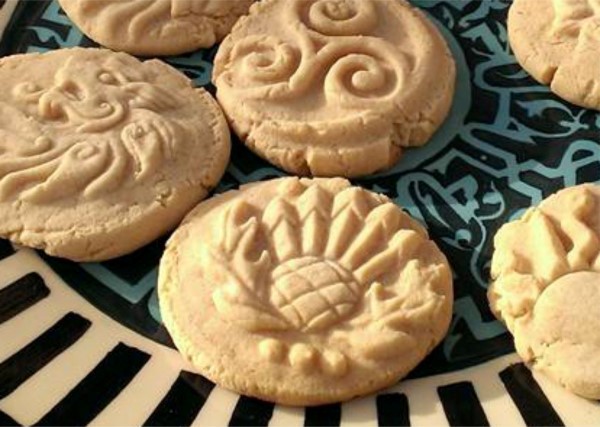
Decorative cookie needs? Here's some cookie stamps. Cookie stamps are the traditional method of imprinting cookies with a design--and our ceramic ones are dishwasher-safe, friendly to the modern baker. All stamps unless otherwise stated are 3" across. The example impressions are in green playdough.
Cookie stamps can also be used on fondant, marzipan, modeling chocolate, and butter among other things our customers have shared with us.
Patterns Alphabetically by Name | Cookie Recipes | Get Custom | Our Inspirations (historical and otherwise)
Patterns by #: 1-50 | 51-100 | 101-150 | 151-200
Get 3 cookie stamps for $33, random glaze color


If you have any issues with the purchase buttons, the check-out process, or just have any questions, please email or facebook message us.


Tips for good cookies:
Cream together butter, sugar, then eggs, molasses, and lemon. Mix dry ingredients separately, then mix into wet ingredients. Chill dough & stamps before stamping. Roll dough into 1.5” flattened rounds and pat into sugar (spiced if you like) to prevent dough sticking to stamp. Place dough round on cookie sheet sugar-side up, stamp, & bake at 350°F for 8-10 minutes.
Cream together butter, sugar, then any other wet ingredients. Mix dry ingredients separately, then mix into wet ingredients. Roll dough into 1.5” flattened rounds and pat into a little sugar to prevent it sticking to the stamp. Place dough round on cookie sheet sugar-side up, stamp, and bake at 350°F for 15-20 minutes or edges are lightly browned.
Sift cornstarch, sugar and rice flour together, then add butter. Mix, form into 1.5” balls, & chill 1 hour. Place 2” apart on ungreased cookie sheet. Stamp with floured cookie stamp. Bake at 300°F for 20-25 minutes or edges are lightly browned.
Beat butter and peanut butter until well mixed. Add sugar and egg. Add flour alternately with milk. Roll into 1.5” balls. Place 2” apart on ungreased cookie sheet. Stamp with floured cookie stamp. Bake at 325°F for 10-15 minutes.
Combine dry ingredients, then cut in butter. Add just enough chilled water to hold dough together. Work with hands until blended. Roll out 1/4 in. thick. Cut with 3” round cutter, stamp with floured cookie stamp. Bake at 325°F for 15-20 minutes: until set, not browned.
Cream butter & sugar thoroughly. Add flour. Beat at low speed until combined. Form 1.5” balls. Place 2” apart on ungreased cookie sheet. Stamp with floured cookie stamp. Bake at 325°F for 10-12 min.
"Starting out, I use the first 3 speeds on my mixer: Low (1), 2, & 3. Beat 4 large eggs at speed 3 for 1 minute. Slowly add 2 cups sugar. Beat at speed 3 for 2 minutes. Reduce speed to 1. Add the 1/2 tsp hartshorn which has been dissolved in 1 1/2 tsp warm water. Then add whatever spices or extracts you may want. 2-3-tsp of spices, OR 1 tsp of extract, OR 1 tsp of spice & 1 tsp extract. If you would like a honey cookie, use 1/3 cup honey, by itself or with 2-3 tsp spices. NOTE: using honey will mean that more flour will be needed when making the dough. Cookies with honey come out brown, while cookies without honey do not brown.
With speed on 1, slowly add 3 cups of flour, 1 cup at a time, letting the flour completely blend after each cup before adding the next. After 3 cups, add a fourth cup 1/2 cup at a time, until thoroughly blended.
Here comes a tricky part: You'll need approx 5-6 cups of flour. The amount depends size of the eggs, temperature that day, how much additional liquid you've added (such as honey & extracts, etc.). Here's how you determine. After adding 4 cups of flour, turn off the mixer. Watch how much the batter moves, & how quickly, after the paddle has stopped .Now, on speed 1, add a little flour, a little at a time, while watching the dough. The dough will pick up from the bottom of the bowl, leaving the very bottom clean, when enough flour has been added. When the mixer stops, the dough should just barely move. It needs to move a little, but only a little. If it flows too much, you need more flour. On average, I use about 5 1/2 cups flour during this stage.
Scrape the sides of the bowl to remove the dough. The bottom should should fall out on its own. If it doesn't you just need to add more flour when hand kneading. Turn the dough out onto a floured surface & knead by hand until the dough is smooth & slightly tacky. You'll have to learn this part on your own, but you'll soon be able to recognize when the dough is kneaded enough. Knead very gently. IT'S NOT BREAD! Just turn the dough over once or twice while kneading, & only knead until the dough comes to together, DO NOT OVERKNEAD. Form into a loaf shape & let rest on a floured surface for about 1 minute.
Sift 1 cup of flour onto your working area in the shape of a large rectangle, a little smaller than the size your rolled out dough will be. Place the dough in the center. With a floured rolling pin, roll out the dough into approx. the size you'll need. The size & thickness will depend on the size & depth of your mold. Deep molds need a thick dough; shallow molds need to be thinner. Getting the right thickness is important; cookies that are too thick blow up like balloons, & when too thin lose the image & become too crisp. This is one of the things you'll have to experiment with.
After the dough is rolled out, remove the excess flour around all the edges. With your hands, gently shape to dough into the shape you want for pressing out the cookies. Check for thickness, making sure the dough is spread out uniformly. Adjust with the rolling pin. At this point the dough is still a little fluid, so you can work it easily. When you have the shape, size, & thickness you want, sprinkle a LITTLE (about 2 pinches) of flour on top of the dough, then very gently with your fingers, rub this flour into the top of the dough until it is completely absorbed & not visible. This will give you a surface which will allow for easy stamping.
Next will be pressing the cookies: First, oil your mold. I take a small saucer and use canola cooking spray, I spray a little of the oil on the saucer, then dip in a toothbrush. Using the spray on the saucer allows me to control the amount of oil I'm using & it's easy to replenish when you're in the midst of stamping. With the toothbrush, thoroughly brush the surface of the mold until it is coated & and all cracks, crevices, etc., are oiled. If this is the first time this mold is being used, brush it with the oil several hours before use & let dry.
You will need to experiment with this part. Your mold will become easier to use the more it is used; You'll discover the right amount of oil to use on your own, probably very quickly! Just make sure not to use TOO much oil or the image will never dry properly. Here's why rubbing a little flour on the surface helps. The flour absorbs any excess oil pretty easily, & the flour helps the mold pull away from the dough easier. Many bakers recommend oiling the mold, then brushing the mold with a little flour, as when you flour a cake pan before use. I DO NOT LIKE putting flour on my molds, as it can be a mess to clean & can ruin the details of your molds. A little flour rubbed in the dough does the same job & doesn't mess up your mold. It's faster, too. In period, you were advise to wet the molds with rosewater brushed on with a feather.
OK. Your dough is ready. Your mold is ready. Time to begin or your dough will dry before it's stamped & you will get wrinkled cookies.
Brush the mold lightly. Place on top of your dough & gently press into the dough. You may need to rock the mold a little to guarantee that all four sides are getting pressed. Once you master the techniques, it's easy & you will feel when it's done right. Gently raise the mold up from one edge until it releases itself completely. Tapping on the mold often helps. If the dough is sticking to the mold & won't release, it may be one of three things:
1. Your dough is too thin or you've pressed to deeply. -- there's not much you can do except try to adjust the thickness with a rolling pin. The dough should still be fluid enough to move it around a little.
2. Your bottom surface wasn't floured enough. -- If your bottom surface wasn't floured well enough, the cookie, after pressing, will become stuck to the board & no amount of tapping, prying, or pleading will help. You can try to scrape flour underneath the dough as you're working with it. Unfortunately, when the cookies aren't floured well enough on the bottom, you ruin the shape of the cookie when trying to pick it up.
3. Your top surface wasn't floured enough. -- The easiest fix. Just rub more flour into the surface, then continue stamping.
After the cookie is stamped successfully, use the pizza cutter to cut around the cookie, then with a metal turner transport to a another work area. Continue stamping until all are done. Brush the mold between pressings as needed. Get any stuck dough out of the mold immediately. Put on good music. Stamp, cut, move. Stamp, cut, move.... Here is my procedure for doing this fast & effectively. I'm right-handed, so please adjust yourself accordingly. Hold the mold in your left hand, design up. With the right, hold the toothbrush & dip the top part of the brush into a little of the oil, then "scrub" the design while you hold the mold in your hand. Set the toothbrush down on the plate of oil, take the mold in your right, & make the stamp on the dough. To help remove the mold, I use the edge of my left hand to gently apply soft pressure to the dough next to one side of the mold, while the other hand rocks the mold off of the dough. This use of both hands when stamping is very helpful. I then put down the mold, design side UP, take a pizza cutter, and cut the cookie out of the dough. LEAVE DOUGH AROUND THE IMAGE. I mean, do not go for a precise, final cut here. Just cut around it & get it out of the way. You have to move it before you stamp the next cookie or the dough will move & the cookie shape warped. So, cut around it, put down the cutter, pick up a metal turner, move the cookie to a safe spot, pick up the mold & start the process again.
Now, if you have a shaped cookie cutter that will work with your cookies, use it to cut the cookie away from the dough, then put it aside as you continue stamping. If you have to trim your cookies by hand, cut them out, put them aside, & finish stamping first. Your dough will dry too quickly - you can trim when they're dry, but can't stamp when dry.

After all the cookies are stamped, trim each one so all the excess dough is removed & they look pretty. Place them on baking sheets to dry. The bigger or thicker the design, the longer the drying time. Drying time is a minimum of 12 hours with no more than 20-24. They must dry in an open area where air can get to them, with no humidity. I use bookshelves that are in my kitchen for such a purpose. (They have their own room off the kitchen I call my "drying room.")
I do not use the left-over dough to make more cookies; the end result is always nasty as the dough has picked up extra flour & dried too much by that point. DO NOT EAT THE RAW COOKIE DOUGH. The raw ammonia tastes horrible & it will give you unpleasant digestive reactions. Rather, you can take the left-over bits & bake them as they are that same day for a little treat of what's to come.
Alright, it's the next day. Pre-heat your oven to 300º F. Place the dried cookies on your baking sheets, lined with parchment paper. PARCHMENT PAPER IS IMPORTANT!. In period you were advised to bake them on paper hot enough for baking bread. The cookies may turn brown when baked directly on the baking sheets. SPRINGERLE ARE NOT SUPPOSED TO BE BROWN ON THE BOTTOM. They are supposed to be white, or various shades resulting from the spices or extracts. Honey will make them turn brown, but that's the only time they should be that color.
Bake the cookies for 15 minutes. Remove from the oven & immediately take them off the baking sheets & place on cooling racks. They are so soft at this point, that if you touch or move them incorrectly, the image or shape could get distorted. Use your tools; don't use your fingers to touch or move them until they've cooled, about 10 minutes. When completely cooled, take a soft toothbrush (not the one for brushing with oil) & brush off any excess flour that will be on the bottom sides. Place in air-tight containers. They now need to age for 1-3 days, then they are ready! Keep them air-tight or frozen until needed. They will keep indefinitely in the freezer. Freezing as soon as they are cool enough to place in freezer bags is the best option. Freezing locks in the freshness & the thawing process ages the cookies just right. When the cookies are slightly aged, the flavors are better, and the image is sharper. If they are for future use, freeze them immediately & let thaw a few hours before eating. Thaw them IN THE BAGS they are frozen in; that seems to work best.
Are they done right? Check for the feet of the cookies - that's the bottom layer that happens when rising. There should be an obvious raised layer on the bottom, with cracking around the edges. The cracking is proof that you have good feet!
That's it!"
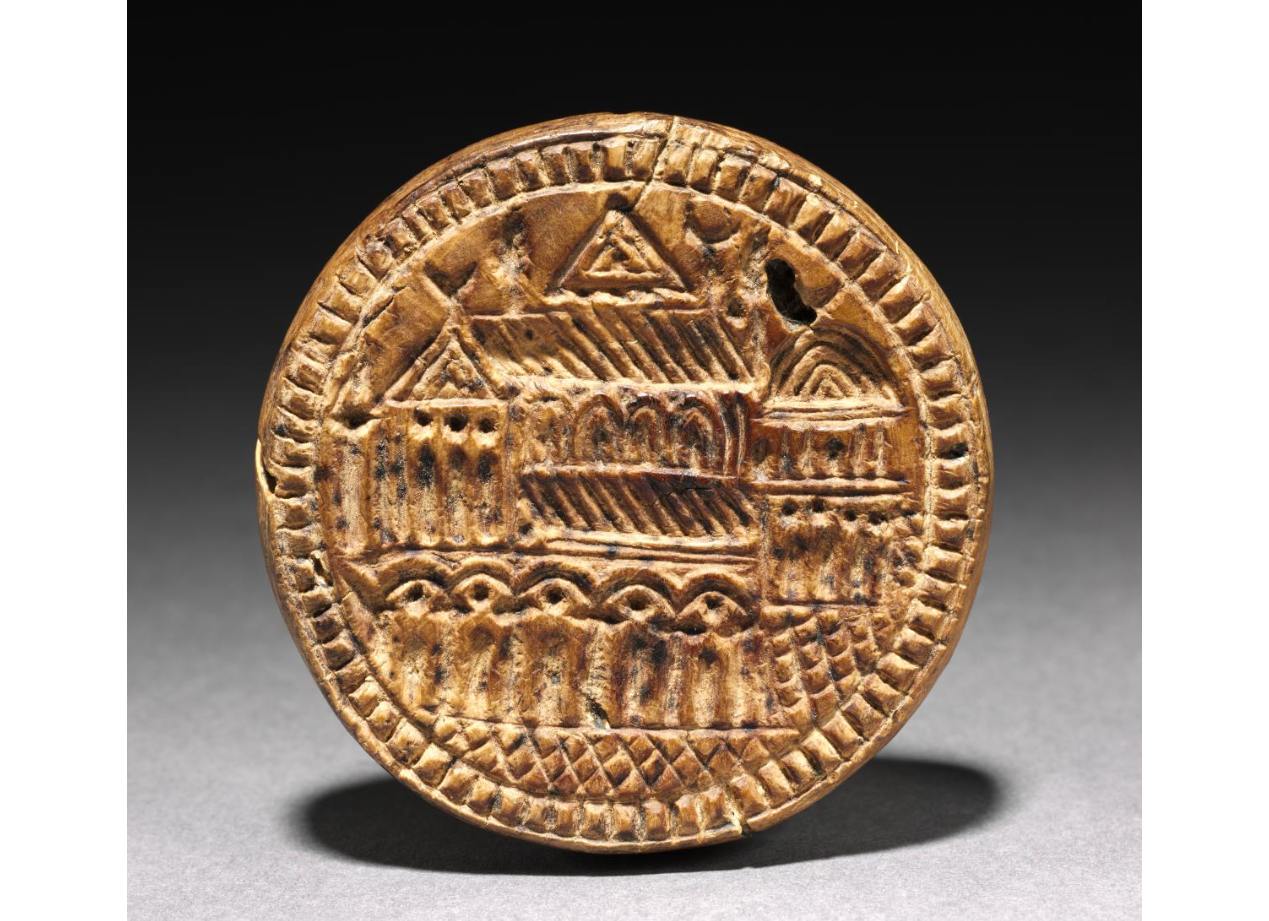 Historical References
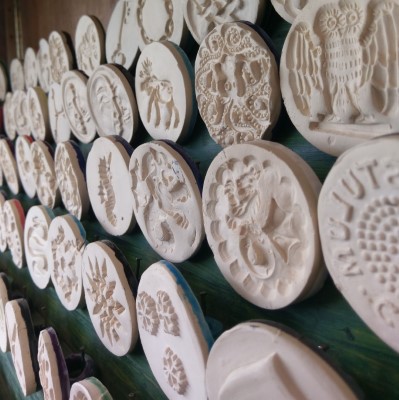
Unique & usable, safe for food and drink as well as the modern conveniences such as oven, dishwasher, and microwave. Our stamps are individual pressings from masters we carve ourselves, built to survive years of everyday use. Have other questions?